Showing posts with label gifts. Show all posts

Wednesday, December 14, 2011

Work Tote

Disclaimer: I received this tote bag from Red Envelope in exchange for this review. All opinions are my own.

I have a large collection of totes in all different sizes and shapes. From an enormous canvas beach tote from a long ago Victoria's Secret order, to the white pleather tote from Target I used for school, to the monogrammed tote I got as a bachelorette party gift with my new married initials.

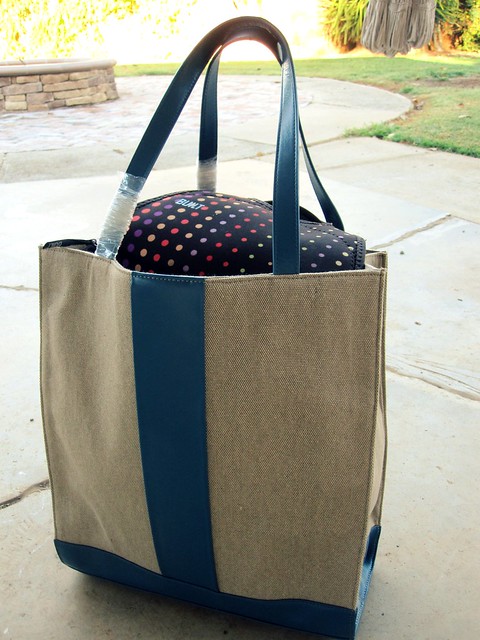
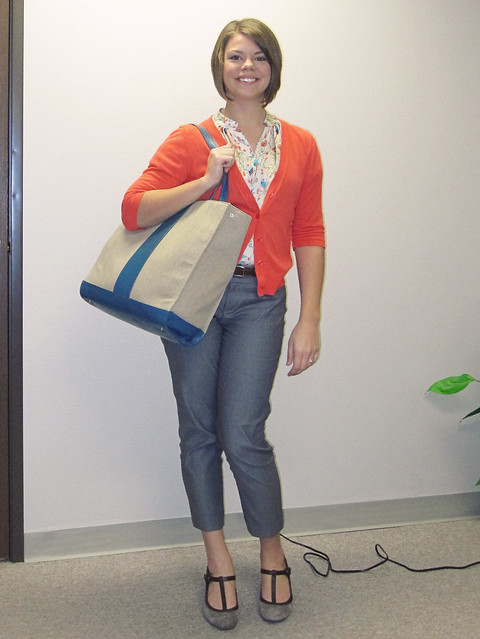
But I'm still a sucker for a good tote, and was excited when Red Envelope offered to send me one in exchange for this review. It came a few weeks so I've had a chance to use it for the last few weeks and I love it. [leather + canvas tote]

IMG_0850

The tote is a heavy canvas material with a sleek leather stripe on the side, and the bottom. It holds its shape really well standing up. The bottom is sturdy with metal toes which prevent wear and dirt from the bottom of it. The past few months, the amount of things I'm taking to and from work has kept growing, but this tote has managed to fit everything for work. My purse, my lunch, a sweater, a book for my lunch break. Even my work laptop if I need to take it home on the evening!

12-14a

It's easily my new favorite!

You can check out more leather gift ideas from Red Envelope here. Use coupon code SAVE10 for a 10% discount on your order.

Monday, June 6, 2011

Guest post: Catherine's Souvenir Guide

Today's guest post is from Catherine at Forty Twenty Four, a fabulous blog about home-building and ownership, pet raising and travel! Catherine gets to do a lot of work travel in addition to trips with her husband Micah, and they always come back with fabulous things! I asked Catherine to share some tips on souvenir buying.

----------------------

Hi Everyone (I’m waving), I’m really excited that Katie asked me to guest blog while she’s off traveling. I’m super jealous of her summer in Italy and can’t wait to read about her adventures.

Speaking of traveling, let’s take about one of my favorite traveling activities, shopping. Shopping while traveling can be complicated, well, for me anyway. You want to buy all the great local finds, things you can’t find at home but you don’t want to buy so much that you can’t get it all in your suitcase. You also don’t want to end up being that person with a bunch of random beautiful pieces with no place in your home.

When I was younger, I bought everything I liked. I traveled a lot and wanted to bring back everything. I brought home HUGE sombreros from Mexico, a million matroshka dolls from Russia and bags of ceramic vases from Italy. Somewhere all these things live at my parents’ house. When I finally stopped moving from place to place, I realized I needed to come up with a system. My husband hates clutter and is actually pretty particular about décor. I knew that I needed to be purposeful about how I shopped when I travel particularly since I was now traveling a lot for work.

We decided to come up with some rules:

1. When we’re traveling together, our purchase of choice is a Christmas ornament. They are easy to carry, are affordable and can be as simple or ornate as you want. We love the ones we have and seeing them at Christmas makes the holiday all the more exciting. Here are a couple of our more recent purchases.


The glass bulb is from Venice. We looked at hundreds before we settled on this one. The two ceramic ornaments are from Bisbee, Arizona. They just represented the vibe of the town so well.


2. If it’s not an ornament, it has to be purchased with a purpose in mind. No more sombreros, no more random vases. I knew we needed something significant on the wall when you entered our apartment so I knew I this blessing from Ethiopia would be perfect. I could see exactly where it would hang when I purchased it. It’s a great conversation starter too.


3. Sometime even you need a little something. For my husband, it’s hats. For me? Jewelry of course.


The turquoise necklace is from Arizona. I loved it as soon as I saw it. The glass bubble necklace is from Venice. My husband let me pick it out for my 30th birthday.


4. Always travel with a list. We keep a list of presents we will need to buy over the course of the year. It’s a great way to get your Christmas and birthday shopping out of the way and help out a local business owner.


I had a bunch of these name plates made for the various kids in our lives while in Tanzania. The style of painting is from Tanzania and called Tinga Tinga. We've already given three out and so far they have been a big hit.


The system isn't perfect. I sometimes still come home with way too much fabric from Africa than I need, but that doesn't happen as often. I think the best part of being more selective about what we buy is that the item we take home becomes that much more special. I can look at all the items in our home and remember exactly where they came from and who I was with when the item was purchased. I love that.

And by the way, we still have a few matroshkas scattered throughout house. I couldn't leave them all behind.


I hoped our approach to souvenir shopping is useful to someone out there. Anyone else purchase a particular item when traveling like magnets, wall hangings or ornaments when they travel?

Monday, January 17, 2011

For cooking and baking

The general theme for most of the gifts I receive this year were kitchen related. I couldn't have imagined a better theme!
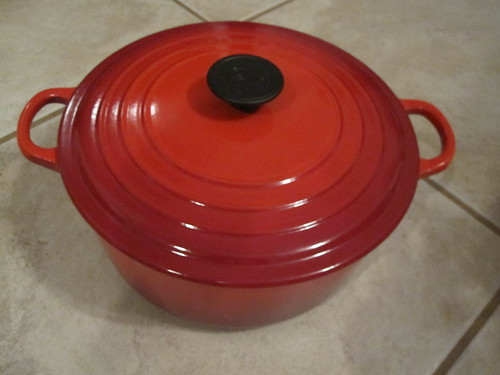
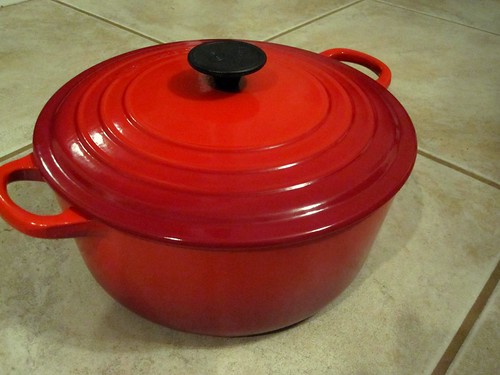
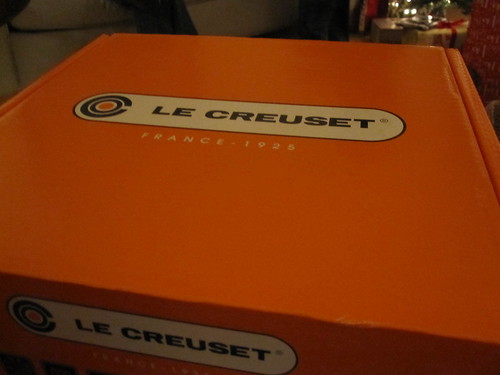
I've been daydreaming for months about a Le Creuset. (although I just took her out of her box today!)

IMG_2870

Without red meat this month I am not sure what to make in it. This post on The Kitchn might just get me started.

IMG_2872

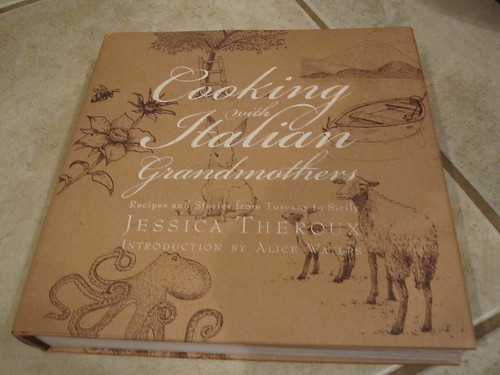
My brother-in-law picked my name for Christmas and got me this beautiful book:

IMG_2869

I can't stop flipping through the pages and reading the stories--The intro really grabbed me " This is about food and women and listening".
The pictures take me right back to our honeymoon.

I'll blog any recipes I get brave enough to try (braised rabbit! truffle lasagna!) This is a cookbook I can definitely see myself opening again and again.

I'm making it a resolution to use cookbooks more often and not rely so heavily on the interwebs for recipes. It requires more planning (usually I do a search for 1-2 ingredients I have on hand and then modify a recipe to use what I have. I'm so lazy.) But there's something about a messy book on the counter while you're cooking (Julie and Julia anyone?) and I've been gifted some good ones.

I also received a huge baking stone, a chop2pot cutting board, and some folding chairs for when we have guests (when my family was visiting they sat in camp chairs!)

Did anyone else receive kitchen gadgets for christmas? What are your favorite things to use in the kitchen?

Monday, January 10, 2011

New Years and boys' toys

A few months ago a friend showed E the compound bow he hunted with. He brought it over and a couple of guys shot at a target in our side yard.

E had mentioned interest in archery before, but after using the bow several times he began talking about it. a lot.

When I was last in Chicago for work, I was able to see some family, and shared E's interest with my cousin (who is into bow hunting). He just so happened to be selling his old bow for a newer model.

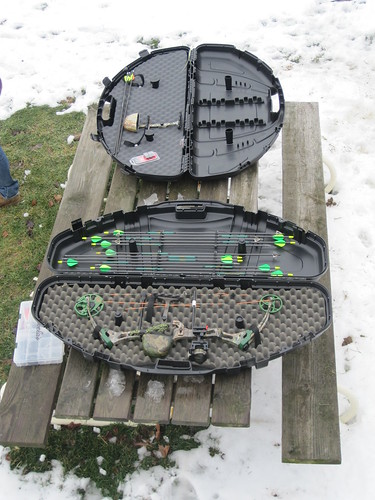
I made arrangements to purchase it, and got a bunch of accessories from a local sporting/hunting store, and gave E the whole package on Christmas.

dec 042

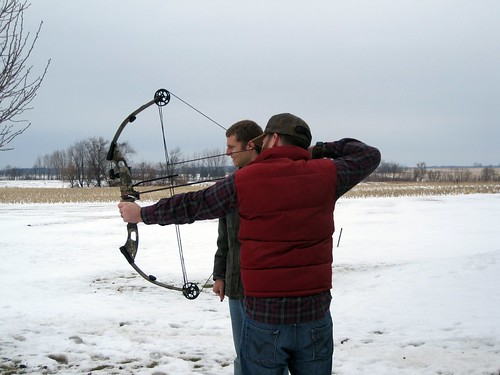
He was pretty surprised, but excited about it. My cousin came over and showed E a few things about the bow and they practiced shooting into a hay bale at my parents'.

dec 047

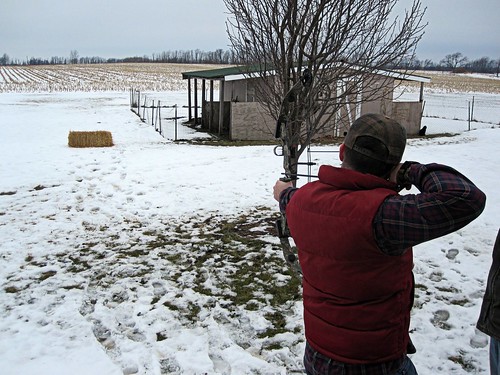
also pictured: my parents' quaint country chicken coup. (my mom raises free range chickens for eggs)

dec 049

I'm glad I have these few pictures of snow, because the next day the temperatures got SO warm and all the snow melted and wasn't seen for the rest of our trip!

dec 051


Then we headed to Wisconsin to celebrate New Year's with E's best friend Alex and his family, who are basically E's second family.

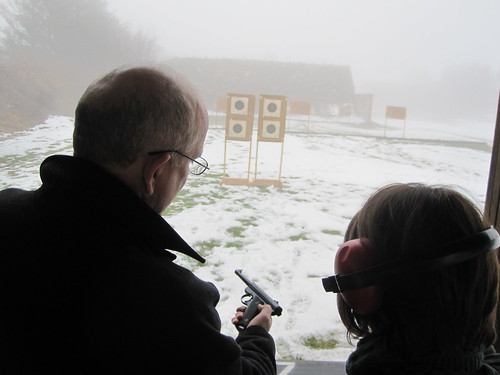
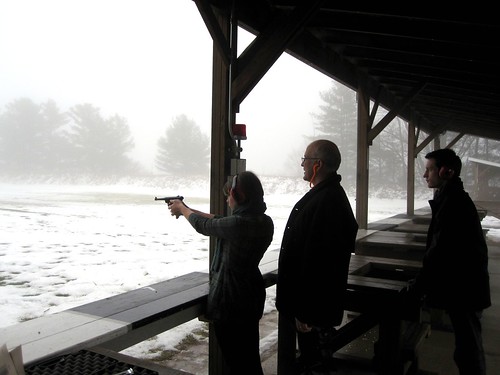
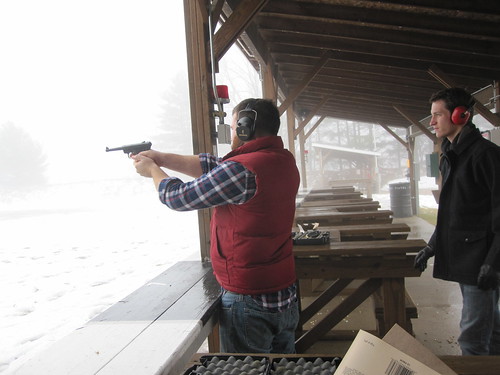
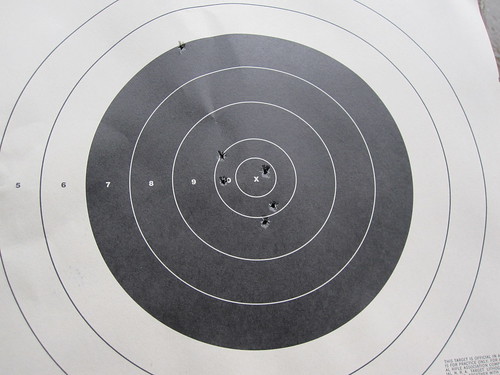
While there, we engaged in more outdoorsy activities and went to a shooting range.
However you feel about guns, (and I'm not sure I'd ever want to own one), I have to say that learning how to use the gun correctly made me feel safer and more respectful of them.

(Feel free to skip the next few pictures if you don't want to see guns in use)

dec 061

(it was a pretty foggy day, but we were at 10 yards, and the only people on the range)

dec 064

dec 068

not bad for my first time shooting a handgun in about 4 years!
dec 072

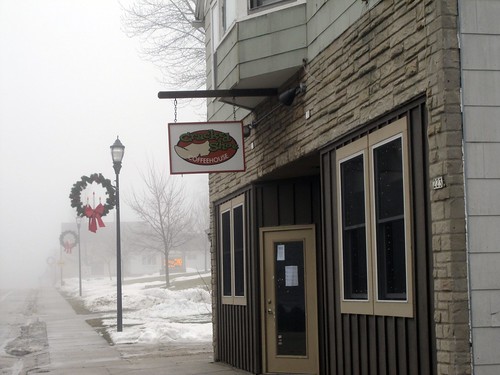
we had lunch at the cutest small town cafe

dec 073

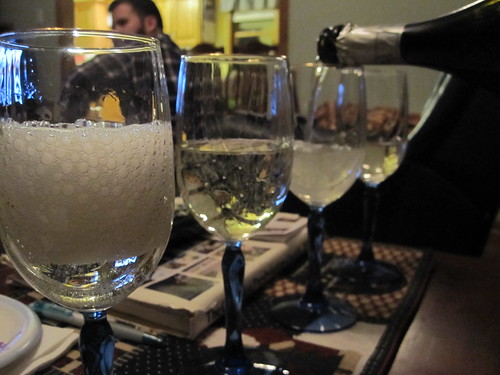
New Year's was spent with games, good food and great friends.

geschmas

(clockwise, from top left) an old fashioned, bananas foster (SO fun to make!), port wine Merkts, and gold-flecked chocolate


dec 082

Happy new year, indeed.

Thursday, January 6, 2011

Cali Christmas

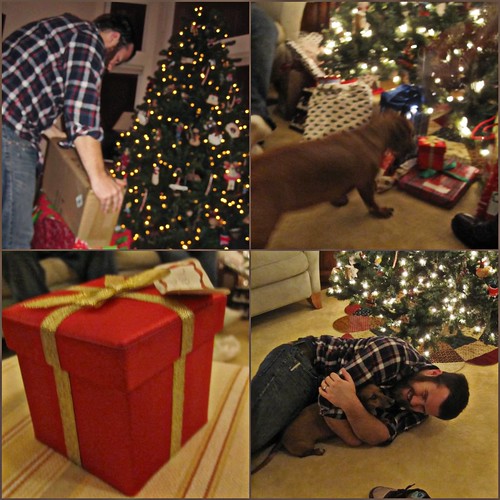
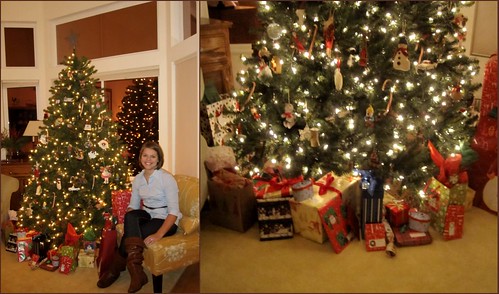
Before leaving for the midwest for 11 days, we celebrated Christmas at E's parents.

christmas2

In lieu of a big Christmas dinner (it was a weekday evening) we ate at San Diego's famous Phil's bbq. E was especially skeptical, but both his pulled pork sandwich and my ribs were delish.
I feel a new family tradition coming on!

christmas

I got totally spoiled by E and his family this year.
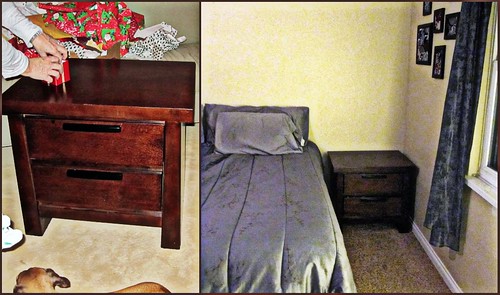
Among my gifts was a 5 1/2 qt Le Cresuset, burlap TOMS, and a beautiful nightstand.

IMG_2748


nightstand
its color is closer to the picture on the left, but there it is in our room!

IMG_2746

As usual, Eric's family's mini dachshund, Pookie stole the show:


Boarding the plane for snowy Chicago was a little bit hard. It was almost 80 degrees in San Diego on Christmas Eve!

Wednesday, November 3, 2010

DIY Gift Guide: Hot Chocolate on a Stick

I love the idea of making a bunch of simple DIY Christmas gifts to give to friends and hosts in the month of December.(or anytime!) So each Wednesday this month I'm going to feature a DIY project from across the interwebs to share the ideas I've discovered!

This week, it's an amazing recipe (from an amazing site): Hot Chocolate on a Stick


I can't think of anyone that wouldn't appreciate a gift like this: you can make a multitude of flavors (think spicy, vanilla or mint!) and all you need to add is heated milk.  Then stir away, sip and enjoy.
I'm thinking of handing these out to my co-workers around the holidays.

ps. you must take a look at Amberlee's blog, www.giverslog.com and get inspired for a holiday DIY project! I especially love her Gift Guide for any occasion.

Tuesday, October 12, 2010

Boy's birthday guide

E's 25th birthday is coming up later this week. Since he'll be celebrating in New York with Alex and I'm in the midwest for work, we're going to have our own next week.

E is notoriously impossible to buy for (aren't all guys?), so i wanted to share a few of my ideas for his birthday presents in case it would help anyone else out who's looking for husband gifts.
E has a 200+ amazon wish list for books, but it gets boring to buy him books all the time, so here are a few non-book alternatives.

E's favorite book is The Adventures of Huckleberry Finn by Mark Twain. Carly posted about this amazing artist who creates posters depicting the cover of a book using the text of the book it's featuring.
Its would look great in E's study.

-----


-----

Tickets for E's trip to New York


-----

A tour of the NBC Studios at 30 Rockefeller Center (It's too bad Kenneth isn't leading the tour!)

-----

Casual loafers

Do you have a hard time buying gifts for your husband/SO? Any ideas you might add to the list?

Monday, June 29, 2009

Gifts for the girls

I didn't want to share these until after the wedding because some of my bridesmaids get on here and read my blog....no spoiling surprises here!

For my girls, I had a small-ish budget, but in the end I decided to only get one gift per girl rather than a whole packet of gifts.
I waited until slightly last minute, made a decision about what I wanted to buy, and then started searching online for jewelry rolls.
I searched through some retailers, before scouring etsy....and then I came across this:


An adorable jewelry roll from Etsy seller, jsj121. I fell in love with it, and messaged her quickly wondering if 4 weeks was enough time to have a custom order made of 6 jewelry rolls (5 for bridesmaids and 1 for my personal attendant). I created a custom alchemy request, and she go to work!


I selected custom colors and material for the outside and a matching pattern for the inside, to fit each girl's personality. Then I had her embroider their first initials on the front. (I have 4 K's in my bridal posse!)


While I was browing Jen's shop, I noticed an adorable custom clutch she had made for another Etsian, ,and decided to gift my self.

Meet my wedding day clutch!

Jen was super easy to work with and the jewelry rolls and the clutch turned out great! I hope my girls love them as much as I do!

Sunday, January 4, 2009

DIY: Christmas photo ornament


I'm back, I'm back!
And while I'm not excited to look outside and see very dreary, dead Chicago winter weather, I'm happy to be back to the blogging world after the unintentional holiday break.

One of the presents I got for E's mom was a photo ornament. I wanted it to look unique and simple.
I was going to look for a tutorial, but I had to do it over the weekend we had no internet. (i.e. completely on my own. Ahhh!)

So, without further ado, my very DIY christmas ornament. Hope this is helpful. (I never realized how hard it is to take pictures of DIY project when you're doing it by yourself!)

Supplies needed:
a glass ball ornament (or two)
needle
thread or fishing line
markers (optional)
photo
ribbon

First, purchase clear glass ball ornament (75% off after-Christmas sale, in my case :-) )

Print a photo for the ornament (I printed mine at home on our HP photo printer and it worked just fine!). Make sure the pictures is set so that you can easily cut a circle from the middle (about half the size of the photograph) and not cut off anything that you want in! I chose E's favorite picture from our engagement shoot, the one his family put on their christmas card.


Use a circular scrapbooking stencil and razors to make a circle. (can be found at Creative Memories) You can also trace around a soup or vegetable can and cut with a scissors. Mine was 3" in diameter for a 3.18" ball ornament.


You can either write or print and paste names and dates to the back of the ornament. This wasn't necessary but I know 5 years from now my parents will not remember how old this picture is, so I decided to just take a couple sharpies and write on the back of the picture. For FMIL's though, I printed it in a nice script font and pasted it on the back (sorry i didn't take pictures of that one!)


This next step, I didn't anticipate at all. But, live and learn. (*ahem* craft and learn) But I found the best way to make sure your photo is going to stay where you want it in the glass ball is to use thread. I chose white thread because it was easily accessible. For something less conspicuous you could use clear thread or fishing line.

Thread a needle and carefully find the top of the picture (if you aren't careful, the picture will hand sideways. (see it's slightly crooked?) Make sure to leave about 6 inches of thread on each side so it doesn't come out when you place the picture in the ornament.

 Remove the metal top from the ornament. Carefully and quickly, roll the picture into a tight curl and nsert into the top of ornament.


Once it is complete inside the ornament, it will probably still look curled. I found the best way was to fold with the printed side of the picture facing in. I used my pinky to carefully flatten the picture out once it was inside the ornament. You could also used a q-tip. Just stroke gently and firmly a couple times. It should flatten out!

 Take the thread and place one side in each of these two tiny holes. Tie a knot at the top. You will need to judge how far down you want the picture to hang in the ornament, or if you want no thread to show at all. (tie it very tight with three or four knots)


Gently place the cap back on the ornament with the two tension wires placed behind the photo.

Cut an 8 inch piece of cloth ribbon (i found this great silver glittery wire ribbon in my basement). Thread through the wire hook and tie a knot at the top.


Voila! My DIY photo ornament. I love how these turned out...even though it wasn't as smooth or quick as I was planning on! I may do more in the future and try decorating the pictures, filling the ornament with some glitter etc. It's a great little gift for parents and fiance!

All three packaged and ready to be gifted to parents, future in-laws, and E.


Latte Love All rights reserved © 2008-2011 | I am a HowJoyful Design by Joy Kelley